How to Make LED Headphone Stand?: in 7 easy steps
Do you ever find yourself searching for your headphones when it’s dark? If yes, then you need to learn how to make LED headphone stand.
Imagine this: It’s late at night, and you want to relax with your favorite music or podcasts. But it’s hard to find your headphones in the dark, especially with everything on your desk. It’s frustrating and messes up your relaxation.
But don’t worry! With a DIY LED headphone stand, you can fix this problem. By adding LEDs to your headphone stand, you’ll have a special place for your headphones and a gentle light to help you see, even in the dark.
Say goodbye to late-night headphone hunts! Let’s learn how to make LED headphone stand step by step.
Table of Contents
How to Make LED Headphone Stand? Step-by-Step Guide
Let’s delve into the specifics of creating your own LED headphone stand.
1. Gathering Materials
Before you embark on your DIY journey, it’s essential to gather all the necessary materials. Here’s what you’ll need:
- A page of paper
- Saw and hole saw
- Sandpaper or (orbital sander optional)
- Wooden base
- Clamps (optional)
- LED light strip
- Headphone hook or stand
- Drill and drill bits
- Screws
- Adhesive tape
- Wire strippers
- A power source (e.g., USB cable)
2. Pattern
- Start with a wooden base.
- Cut the LED lights to fit around the base.
- Stick the lights on the base.
- Screw on the hook for your headphones.
- Plug in the lights.
- Paint or stain the base if you want.
- Test it with your headphones to make sure it works.
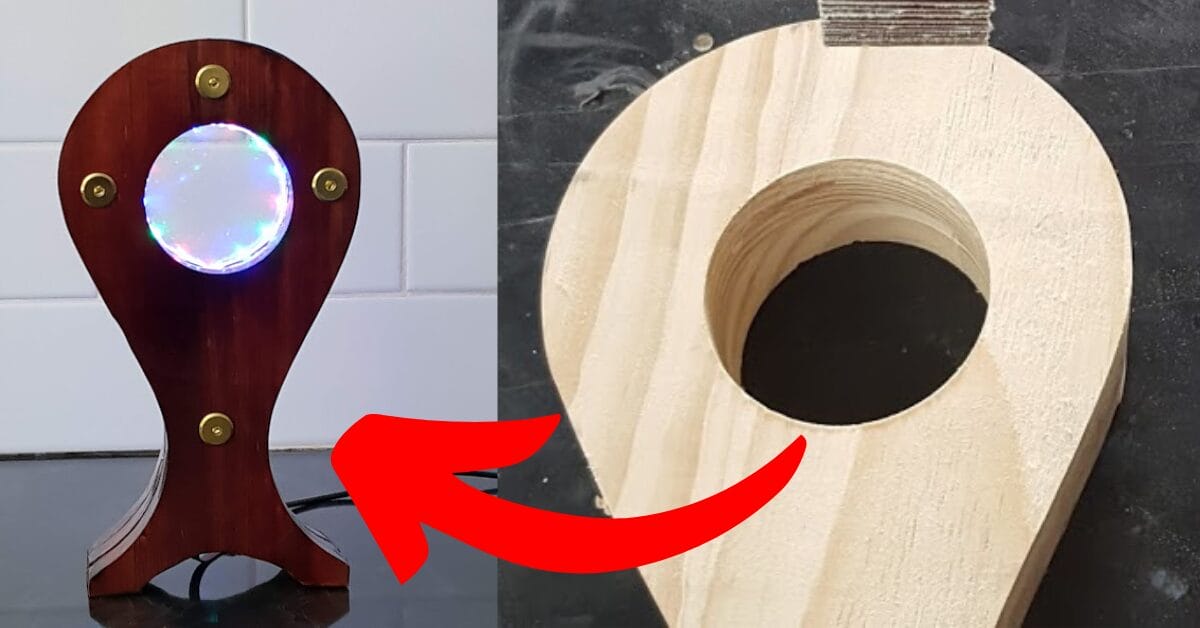
3. Designing Your Stand
Before everything, you need a page of paper to draw your design on. When you start drawing the design, make sure the size of that headphone stand is suitable for your stand. The recommended size is around 4 to 6 inches (10 to 15 centimeters) and a height of approximately 10 to 12 inches (25 to 30 centimeters) would be suitable.
Once you complete the drawing, it’s time to design your headphone stand. Keep your design paper on your wooden base and cut it but you need to cut 3 pieces the same, by using a saw or jigsaw, if you have one).
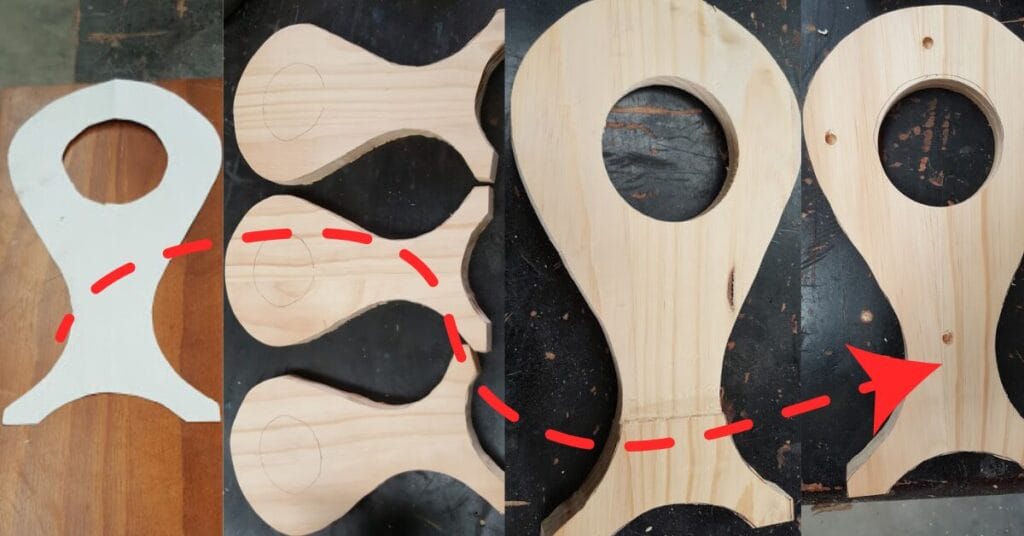
You need to clean the cut pieces by using sandpaper or an orbital sander. Cut the middle hole by using a hole saw. Remember, if want to cut holes in all the pieces, you can use clamps. To clean the middle holes, you can use a flap sanding wheel, but if you don’t have one, just use sandpaper.
4. Attaching the Headphone Stand Pieces
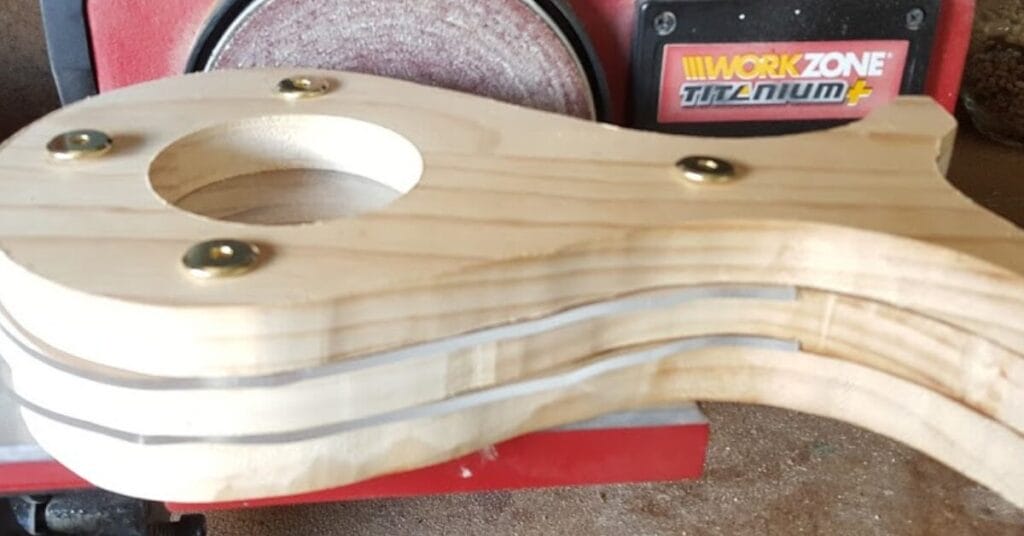
After designing the headphone stand, attach the headphone stand pieces to each other by using clamps. Use a drill and screws to secure it firmly, ensuring it can support the weight of your headphones without tipping over.
5. Coloring Headphone stand pieces
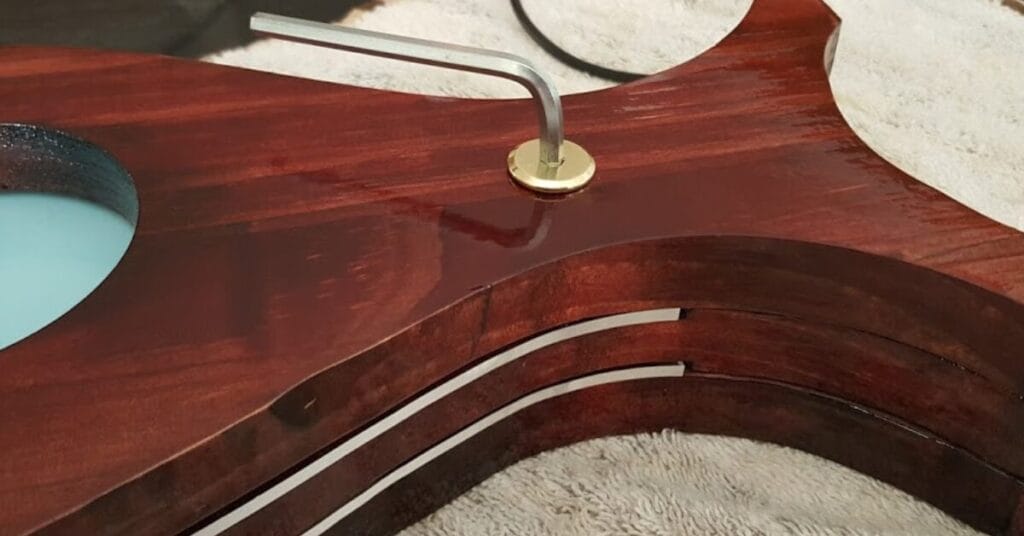
To add a touch of style to your DIY headphone stand, consider using a “dark mahogany stain” and “spray satin polyurethane” for coloring.
Staining Wood:
Using a dark mahogany stain.
Protective Coating:
Applying spray-satin polyurethane.
Also, read: How to make headphone stands out of foam board?
6. Installing the LED Lights
Next, it’s time to add the LED lights. Measure and cut the LED strip to fit the perimeter of your wooden base. Then, using adhesive tape, affix the strip along the edges. Be sure to leave enough slack in the wire to reach your power source.
7. Connecting to Power
Finally, connect the LED lights to a power source using a USB cable. You can plug it into your computer, a USB wall adapter, or a power bank for flexibility. Once connected, test the lights to ensure they illuminate properly.
Also, if you already have a headphone stand and want to add LED lights to your stand, jump to this blog: How to put LED light in headphone stand?
Conclusion
Conclusion about how to make LED headphone stand. Creating your own LED headphone stand is a fun and practical project that can enhance both the organization and ambiance of your workspace.
By following this step-by-step guide, you’ll not only solve the problem of nighttime headphone hunting but also add a personalized touch to your desk setup. So why wait? Get crafting and illuminate your workspace today!
FAQs
Can I use a different type of wood for the headphone stand?
Yes, you can choose any type of wood that suits your preferences and is available.
Do I need any special tools to make the LED headphone stand?
Basic tools like a drill, screwdriver, and wire strippers are usually sufficient for this project.
How long does it take to complete the LED headphone stand?
The time required depends on your skill level and the complexity of the design, but it typically takes a few hours to a day to complete.
Can I customize the LED colors on the headphone stand?
Yes, you can choose different colored LED light strips to match your preference or decor style.